Transform your website into a powerful sales tool by easily integrating payment buttons. This guide will walk you through various methods, services, and platforms to make it a breeze.
Why You Need a Payment Button on Your Website
In today’s digital age, a seamless online payment process can significantly enhance user experience and boost sales. Whether you are running an e-commerce store, a service-based business, or even a blog, adding a payment button is crucial.
With the rise of online shopping and remote transactions, integrating a payment button can help you cater to a wider audience. According to research from Statista, e-commerce sales in the U.S. have steadily risen, indicating a growing need for easy payment solutions.
Popular Platforms for Adding Payment Buttons
When it comes to adding payment buttons, several platforms and services stand out. Here’s a list of some of the most user-friendly options available today:
1. PayPal
PayPal is one of the most recognized payment gateways worldwide, making it a great choice for small businesses and freelancers.
Pros:
- Easy to set up
- Widely trusted by users
- Supports multiple currencies
Cons:
- Transaction fees can add up
- Limited customization options
2. Stripe
Stripe is known for its flexibility and is ideal for developers looking to integrate customized payment solutions.

Pros:
- Highly customizable
- Supports various payment methods, including credit cards and digital wallets
Cons:
- More complex setup than PayPal
- Technical knowledge may be required for full integration
3. Square
Square is another popular option for businesses that need in-person and online payment solutions.

Pros:
- All-in-one payment processing
- Easy to use interface
Cons:
- Higher fees for small transactions
- Limited third-party integrations
How to Add a Payment Button: Step-by-Step Guide
Here’s a comprehensive guide to adding a payment button to your website using various platforms:

Using PayPal
- Create a PayPal account if you don’t have one.
- Navigate to the PayPal button creation page.
- Choose the button type and customize its appearance.
- Copy the HTML code generated.
- Paste the code into your website’s HTML where you want the button to appear.
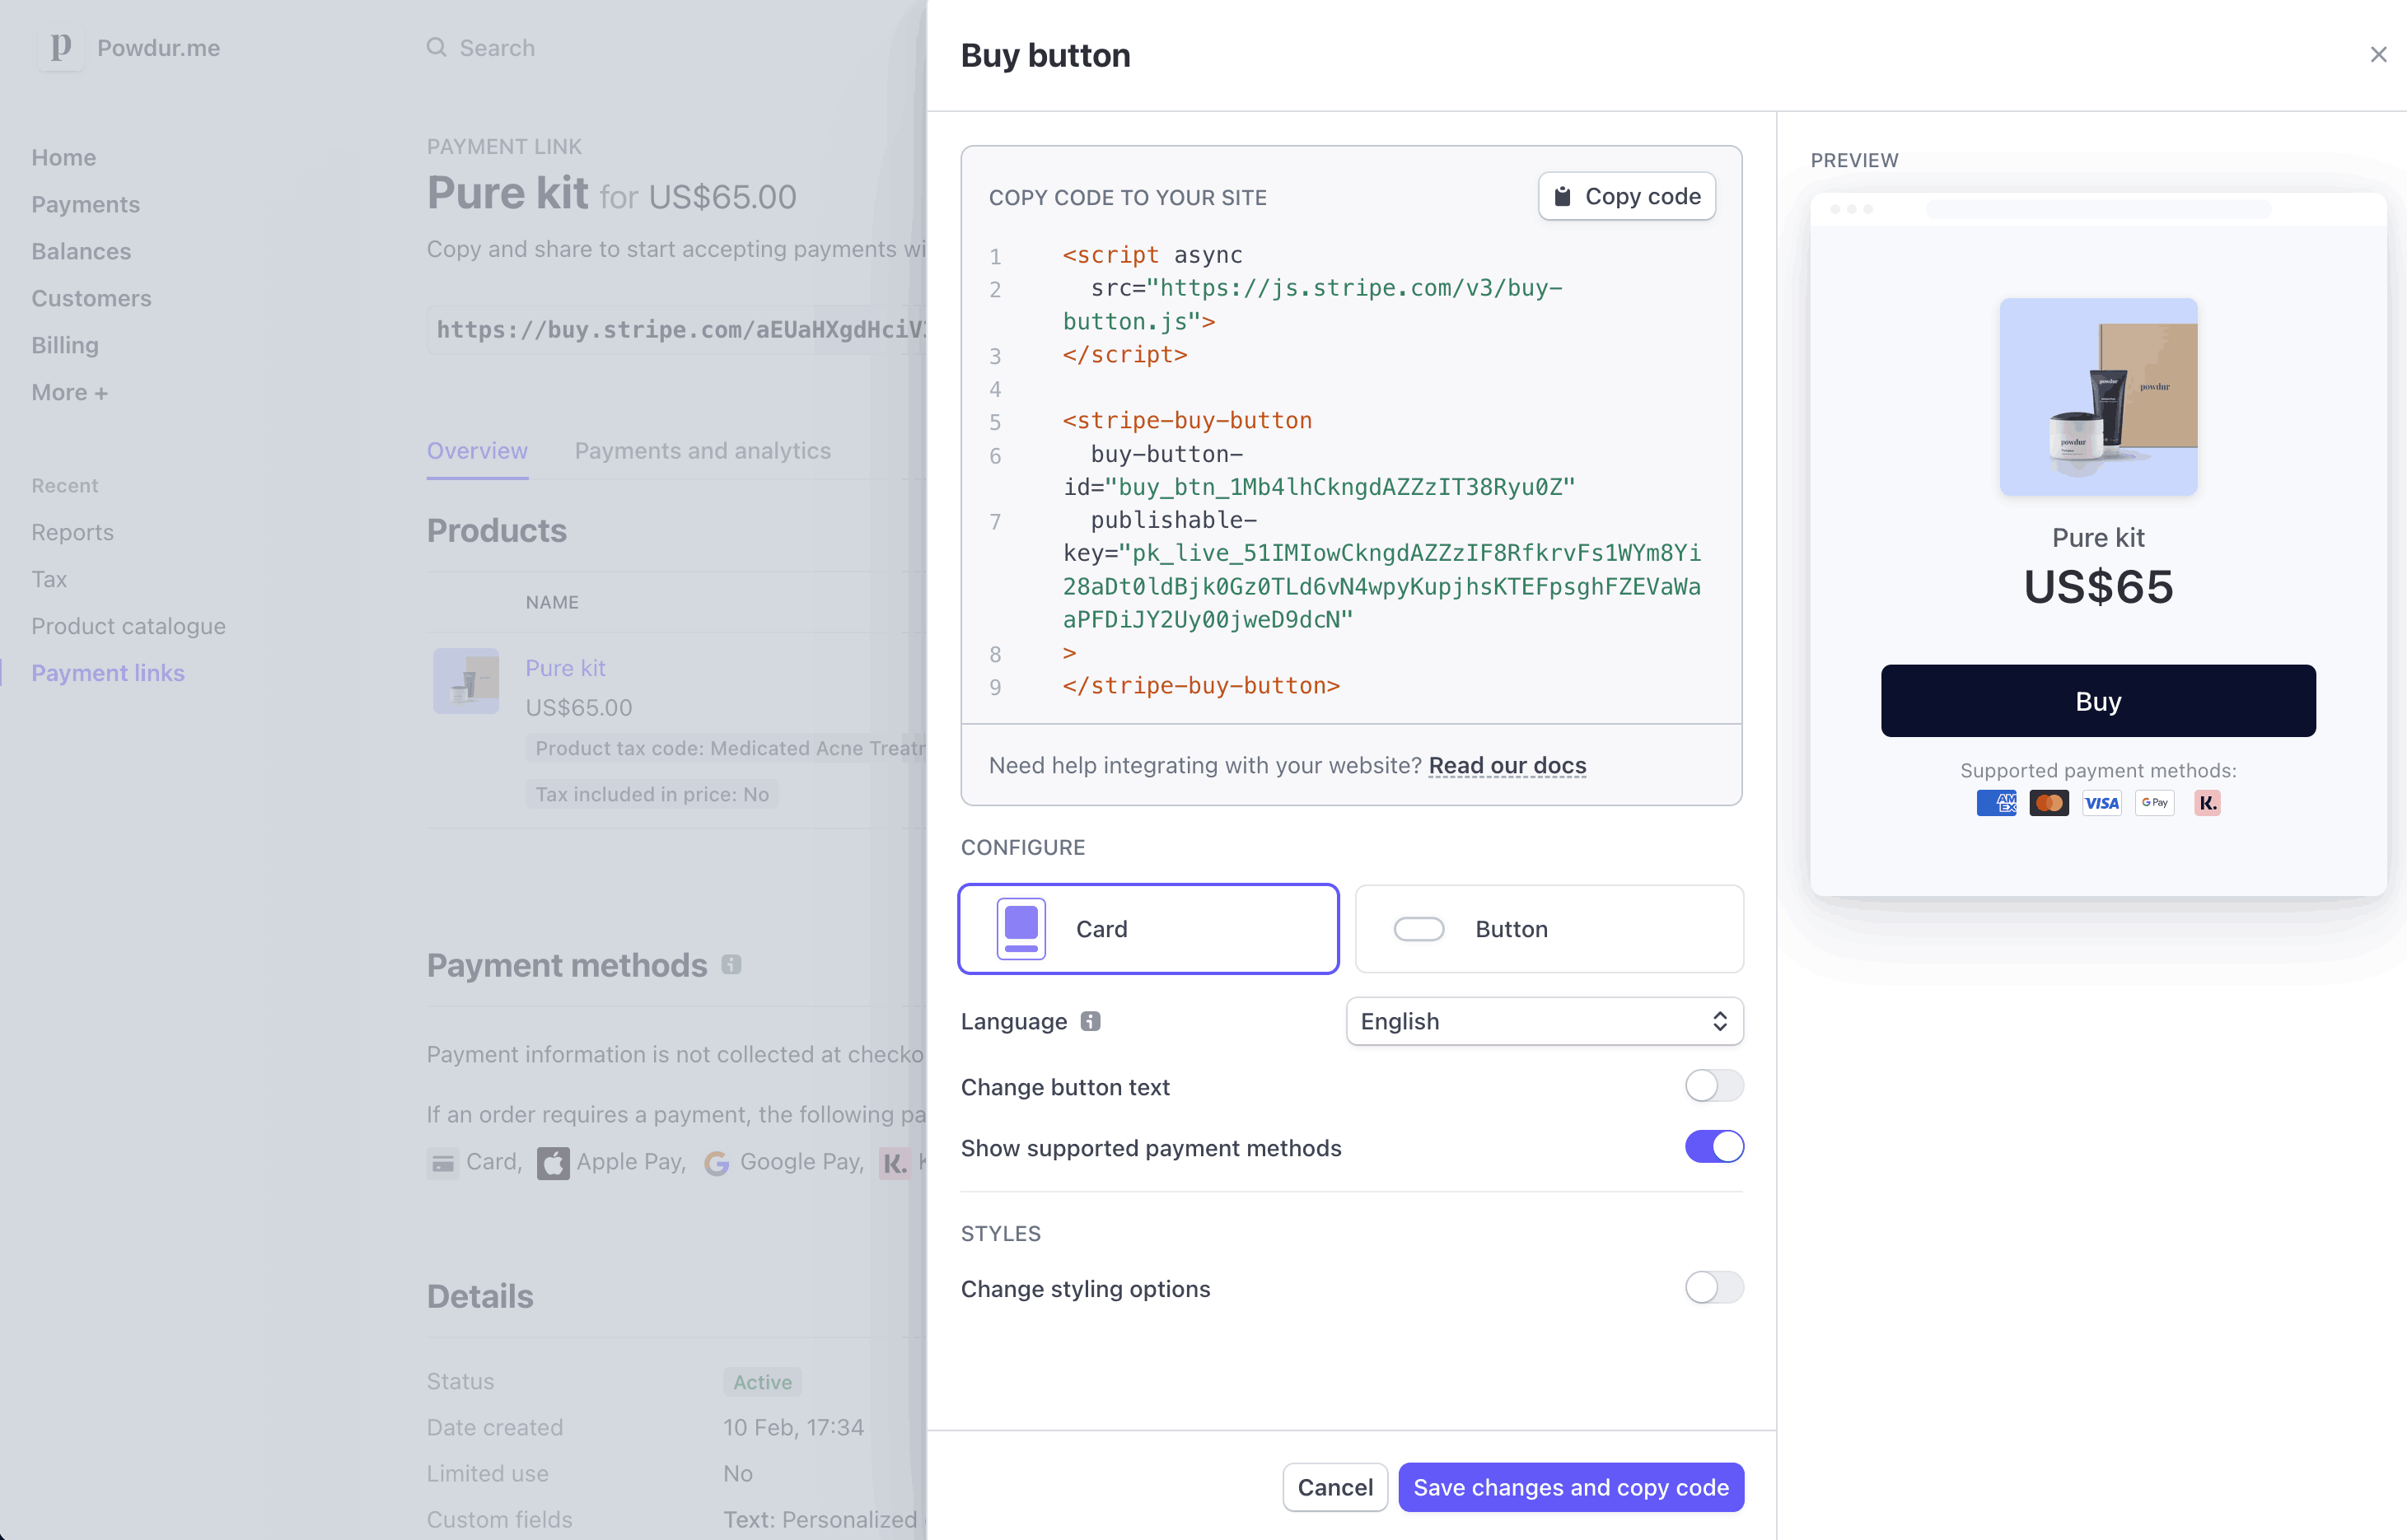
Using Stripe
- Sign up for a Stripe account.
- Access the Stripe API documentation.
- Create a payment button using their pre-built solution or customize your own.
- Copy the generated code.
- Integrate the code into your website’s backend.

Using Square
- Set up a Square account.
- Go to the Online Checkout section.
- Create a payment link or button.
- Copy the HTML code provided.
- Embed the code on your website.
Comparison Table: Payment Button Services
| Service | Transaction Fees | Customization | Ease of Use |
|---|---|---|---|
| PayPal | 2.9% + $0.30 | Limited | Easy |
| Stripe | 2.9% + $0.30 | Highly customizable | Moderate |
| Square | 2.6% + $0.10 | Moderate | Easy |

Tips for Choosing the Right Payment Button
- Assess your needs: Consider the volume of transactions and types of payments you will process.
- User Experience: Choose a service that offers a seamless checkout experience.
- Read reviews: Look for testimonials and feedback from other users in your niche.
Frequently Asked Questions (FAQs)
Can I add multiple payment buttons to my website?
Yes, you can integrate multiple payment buttons from different services to accommodate various customer preferences.

Do payment buttons affect website loading speed?
While they may add a slight overhead, most services optimize their scripts to minimize impact on loading speed.
Is it safe to use payment buttons on my site?
Yes, as long as you use reputable services, they follow stringent security measures to protect transactions.
